


Anime eyes are basically a whole visual language. They can make a character look innocent, intimidating, exhausted, smug, divine, or emotionally shattered, sometimes all within one scene. The good news: you don’t need “natural talent” to draw them. You need a repeatable structure, a few reliable shape rules, and practice that focuses on control instead of randomness.
This guide walks you through a complete process of how to draw anime eyes, from the first construction lines to finished rendering, plus multiple eye styles, emotion tweaks, and the most common mistakes.
Tools You’ll Want (But Don’t Need Fancy Versions)
You can do this with anything, but these help:
-
Pencil + eraser (or a digital sketch brush)
-
A softer pencil/pen for final linework. (I'm still a diehard Sakura Pigma Micron user FTW!)
-
One blending tool (finger, tissue, blending stump, or a soft digital brush)
-
A ruler (optional) for early alignment practice

Core Concept: Anime Eyes Are Built in Layers
Think of an anime eye as a stack of design layers:
-
Eye socket / placement (where it sits on the face)
-
Upper lid shape (most important line)
-
Lower lid shape (supporting line)
-
Iris + pupil design (the “identity”)
-
Highlights (the “life”)
-
Lashes + lid thickness (style + gender cues)
-
Shading (depth + mood)
If you learn to control each layer, you can draw any anime eye style.
Step 1: Place the Eyes Correctly on the Head
Even if you’re “only drawing eyes,” placement is what makes them look right. Think of the placement of anime eyes as the foundation for everything else.
Quick head placement rules (front view)
-
Draw a circle (cranium), add a jaw.
-
Draw a vertical center line of the face.
-
Draw a horizontal eye line across the head.
-
In most styles, the eyes sit around the middle of the head height, sometimes slightly lower for younger/cuter characters.
-
Spacing rule (classic and reliable)
-
The distance between the eyes is typically about one eye width.
-
In stylized anime:
-
Cuter characters often have slightly wider spacing
-
Intense/serious characters often have slightly narrower spacing
-
Practice drill: Draw 10 sets of eye placement guides (just boxes/ovals), focusing only on spacing and symmetry.
Step 2: Establish the Eye “Container” Shape
Anime eyes usually live inside a “container” shape that defines the vibe.
Choose one container for the character:
-
Round/oval = youthful, friendly, innocent
-
Almond = neutral, classic anime
-
Sharp/angled = confident, intense, villainous, mature
-
Droopy outer corner = gentle, sleepy, melancholic
How to construct it
-
Draw a light curved line for the upper lid.
-
Draw a lighter lower lid curve underneath.
-
Make sure the corners (inner and outer) are defined:
-
Inner corner tends to be sharper or tucked
-
Outer corner defines attitude (lift it for confidence, lower it for softness)
-
Key: The upper lid carries most of the personality. Put your attention there.

Step 3: Draw the Upper Lid Like It’s an Eyeliner Stroke
This is the line that makes anime eyes look like anime eyes.
Upper lid thickness rules
-
Thicker = more stylized / feminine / makeup / bold design
-
Thinner = more realistic / masculine / subtle style
Technique
-
Start thin at the inner corner
-
Thicken slightly toward the outer corner
-
Optionally flick upward for a confident look
Pro tip: If your eye looks “dead,” your upper lid is probably too flat or too evenly thick.
Step 4: Add the Lower Lid (But Keep It Lighter)
Anime lower lids are rarely as heavy as upper lids.
Options:
-
Simple thin line (classic)
-
Broken line (more modern / soft)
-
No line, just shading (semi-realistic)
Placement tip: The lower lid usually sits closer to the iris than beginners expect—but don’t close the eye shape too tightly unless you want a narrow-eyed expression.
Step 5: Put the Iris in the Right Spot (This Fixes 80% of “Off” Eyes)
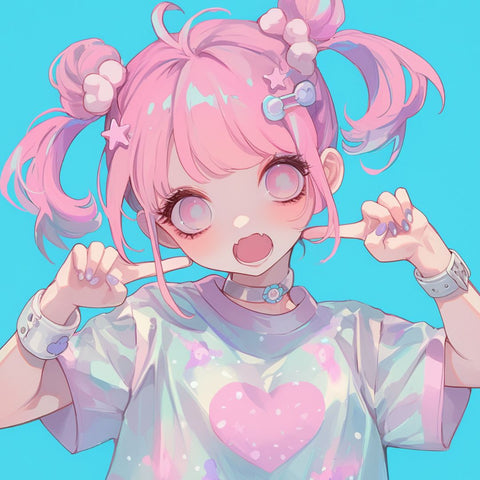
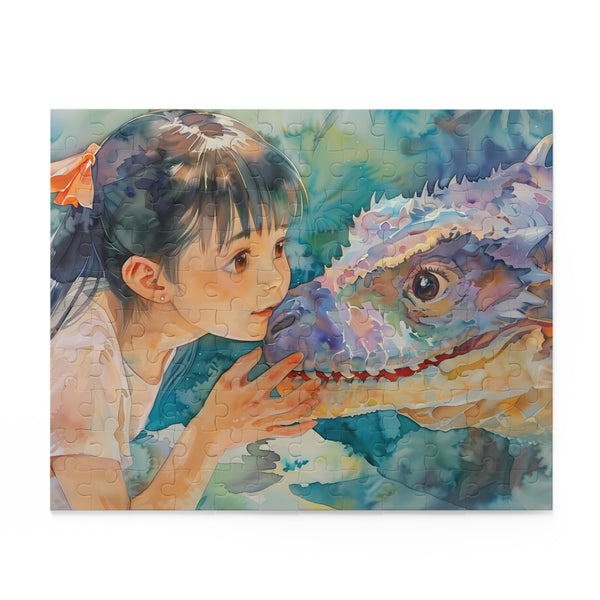
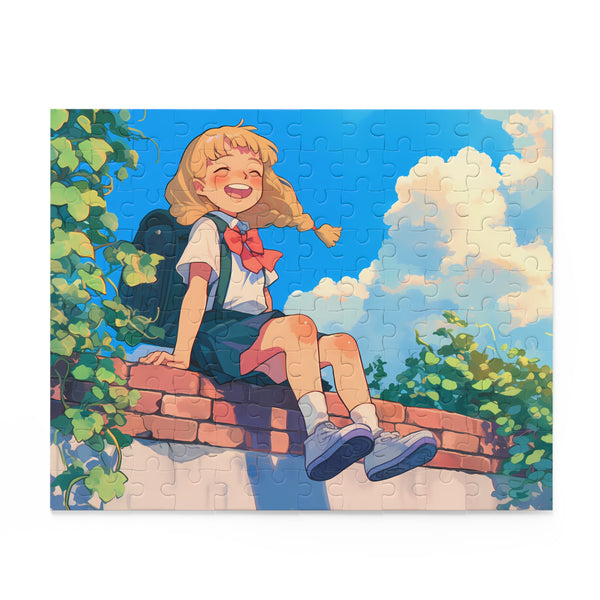
Anime irises are often large and partially covered by the upper lid. The key to getting anime eyes to look as if they are truly "looking" somewhere, including the viewer or camera, often relies on good iris placement.
If you notice many of the characters in our anime posters are looking directly at the "camera," and this is done primarily through iris placement. Do this right and your characters generate instant connection with the viewer.
Standard method
-
Draw a circle/oval for the iris.
-
Position it so the upper lid overlaps the iris slightly (very common).
-
The pupil goes inside, centered relative to the iris.
Where beginners mess up
-
Iris floating in the middle with too much white above it (creates a startled look)
-
Iris too small (suddenly looks more realistic or lifeless)
Rule of thumb: If you want “cute,” make the iris big and let the upper lid cut into it.
Step 6: Design the Pupil and Inner Details
This is where style and character identity show up.
Common pupil styles
-
Simple dark circle = clean, classic
-
Vertical slit = catlike, supernatural
-
Small pupil = fear, shock, intensity
-
No visible pupil = mystical, possessed, glowing, or comedic blankness
Add a “top shadow band” (very anime)
Many styles include a darker band at the top of the iris (like the lid shadow). This instantly adds depth.

Step 7: Add Highlights (The “Anime Sparkle”)
Highlights are not random dots. They’re a lighting design. As you can see in the image above, even subtle changes in highlight placement and usage can alter the emotional look of the eyes. Anime eye highlights are one of the most important skills to master because the more control you have over them, the more expressive you can make your characters.
Highlights also play a role in creating coherent scenes / compositions, as the placement of the highlights are determined by the angle of your primary lighting source.
Reliable highlight placement
-
Pick a light direction (upper left is common).
-
Add:
-
One main highlight (larger)
-
One secondary highlight (smaller)
-
-
Keep highlights consistent across both eyes (as if being produced from a primary lighting source, like the sun).
Anime Style variations
-
Soft/shoujo: big highlights + multiple sparkles
-
Serious/shounen: fewer, smaller highlights
-
Dark mood: reduced highlights, sharper contrast
Important: Highlights should sit on the iris, not on the white of the eye (unless you’re doing extreme glossy style).
Step 8: Add Eyelashes (Choose a Lash Language)
Lashes can be minimal or dramatic. Don’t “draw a million hairs.” Design lash shapes.
Three good lash approaches
-
Triangle lash clumps (easy + clean)
-
Tapered strokes (more detailed)
-
Graphic lash shapes (very stylized)
Common pattern:
-
More/larger lashes on the outer half of the upper lid
-
Fewer or none on the lower lid (unless you want a dolly look)
Step 9: Draw the Eyelid Crease (Optional, But Powerful)
This is the second line above the eye that adds maturity and realism.
-
A crease line makes a character feel older, more defined, more “adult anime.”
-
Minimal crease (or none) makes them feel younger.
Place it:
-
Following the curve of the upper lid
-
Slightly above it
-
Thinner than the upper lid line
Step 10: Shade the Eye (Simple Method That Looks Great)
Shading is where eyes become dimensional instead of sticker-flat.
The easy shading recipe
-
White of the eye: a very light tone, not pure white (unless you’re going high-contrast ink style).
-
Iris: gradient from darker top to lighter bottom.
-
Pupil: darkest part (usually).
-
Upper lid shadow: a soft shadow cast onto the iris.
-
Tear duct area: tiny soft shading at the inner corner.
Quick realism boost
Add a subtle shadow under the upper lid on the eyeball (the sclera). This makes the eye sit “inside the face.”
Step 11: Add the Tear Duct (Small Detail, Big Believability)
Many anime styles simplify this, but adding even a tiny hint helps.
-
A small wedge/triangle shape at the inner corner
-
Slight shading
-
Keep it subtle unless the style is realistic
Three Full Eye Styles (Step-by-Step Variations)
Style A: Cute Shoujo Eye (Big, Sparkly, Soft)
-
Rounder container shape
-
Thick upper lid + soft lower lid
-
Very large iris (often 60–75% of eye height)
-
Multiple highlights + sparkles
-
Softer gradient shading
-
Extra lashes (outer corner emphasis)
Emotion range: dreamy, sweet, romantic, vulnerable
Style B: Classic Shounen Eye (Clean, Confident, Readable)
-
Almond container, slightly angular
-
Medium upper lid thickness
-
Medium-large iris, upper lid overlaps slightly
-
One main highlight, minimal extras
-
Stronger contrast band at top of iris
-
Fewer, sharper lashes
Emotion range: determined, calm, focused, competitive
Style C: Mature / Semi-Realistic Anime Eye
-
Narrower container, more human proportions
-
Defined crease line
-
Smaller iris and pupil than cute styles
-
Controlled highlights (1–2)
-
More subtle gradients and lid shadows
-
Lower lid may be suggested by shading instead of line
Emotion range: serious, tired, elegant, intimidating
How to Change Expression Using Only Eyelids and Brows
You can transform an eye without changing the iris at all.
Angry / Determined
-
Upper lid lowers and angles down toward inner corner
-
Lower lid rises slightly
-
Pupil smaller (optional)
-
Eyebrow lowers, points inward
Happy (Smiling Eyes)
-
Upper lid becomes a smooth arc
-
Lower lid rises slightly
-
Iris may be partially hidden
-
Add a tiny crease or squint line
Sad
-
Upper lid slopes downward toward the outer corner
-
Lower lid may curve up slightly in the middle
-
Add a tiny shadow under the eye
-
Highlight becomes smaller/softer
Shocked / Scared
-
Upper lid lifts high (more white visible above iris)
-
Iris centered, pupil small
-
Eyebrows raised
Sleepy / Bored
-
Upper lid droops low
-
Iris partially covered
-
Minimal highlight
Common Anime Eye Mistakes (And the Fix)
1) Eyes don’t match each other
Fix: Draw both eyes as simple containers first, then refine.
2) Dead stare
Fix: Let upper lid overlap iris + add a shadow band at top of iris.
3) Eyelashes look messy
Fix: Use clumps/shapes, not individual hairs.
4) Highlights are random
Fix: Decide one light direction and keep it consistent.
5) Eye doesn’t feel “attached” to the face
Fix: Add subtle shading on the sclera under the upper lid and consider a crease line.
Practice Plan: Get Good Fast Without Burning Out
Do this for 20–30 minutes a day for a week:
Day 1: 30 eye containers (no iris)
Day 2: 30 upper lids (experiment with thickness + angles)
Day 3: 20 irises + pupil designs (same container)
Day 4: 20 highlight designs (same iris)
Day 5: 20 lash designs (clumps vs strokes)
Day 6: 10 fully shaded eyes (pick one style)
Day 7: 6 expressions (same character, different emotion)
You’ll improve more from this than drawing “random eyes” for hours.
Quick Cheat Sheet
-
Upper lid = personality
-
Iris size = age/cuteness
-
Highlights = life
-
Shadow band = depth
-
Lashes = style language
-
Crease line = maturity
-
Consistent lighting = professional look
Draw Anime Eyes Like a Pro
As with anything, practice makes perfect. While eyes are nowhere near as tricky as, say, hands, there is a bit of a learning curve in order to get them looking "right." When you first start out it's normal for your anime eyes to look kind of flat and not that expressive, but if you stick to the tips in this guide, and put in your reps, you will be cranking out quality eyes in no time.